
7 Tips for Choosing the Best Cylinder Seal Kits

A leaking cylinder rarely fails at a convenient time. Oil may collect around the rod, movement may turn uneven, or pressure may drift during a routine task. Choosing the right Cylinder Seal Kits helps prevent repeat repairs, but the correct choice depends on more than matching a part number. Seal material, cylinder measurements, fluid, temperature, pressure, and operating conditions all matter. One detail is easy to miss: a kit can fit the cylinder and still perform poorly in the application.

Hydraulics author Andrew Parr’s practical engineering approach can be paraphrased this way: reliable hydraulic performance starts with understanding the system, not just replacing a component. That principle guides the tips ahead. They cover how to confirm dimensions, inspect the old seals, check material compatibility, and assess supplier documentation. A caliper, a clean workbench, and a clear record of the machine’s operating conditions can prevent costly guesswork. Small clues count.

These recommendations are useful, but they are not a substitute for the cylinder manufacturer’s specifications or qualified technical advice. Seal selection can become less certain when equipment is old, modified, or exposed to unusual heat and contamination. That uncertainty deserves attention. The following seven tips offer a careful starting point for comparing Cylinder Seal Kits and choosing one suited to the cylinder’s real working conditions.
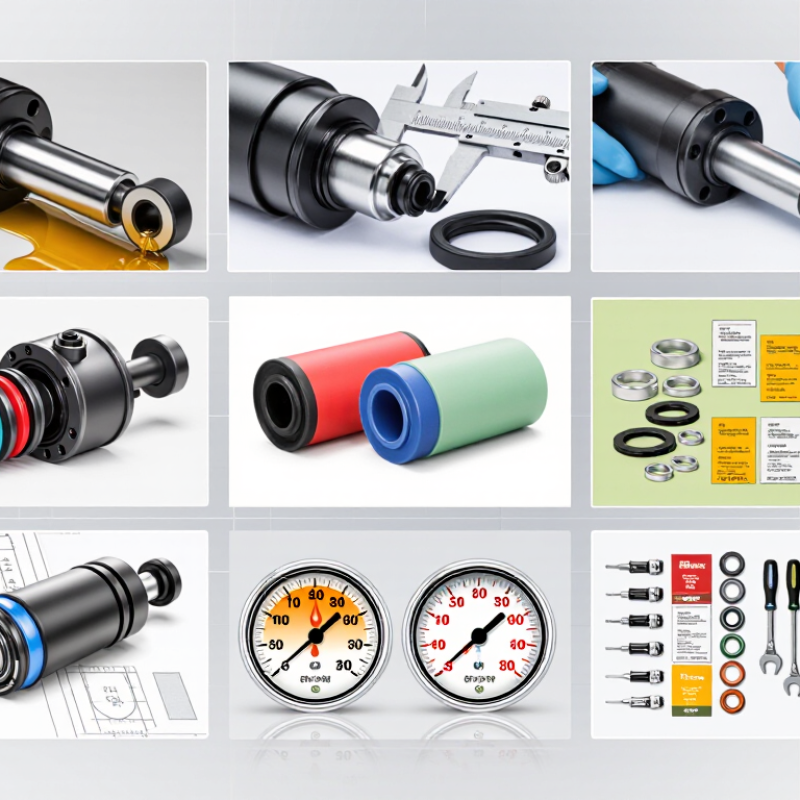
7 Tips for Choosing the Best Cylinder Seal Kits

Identify Cylinder Type, Bore, Rod Diameter, and Stroke Before Selection

A seal kit should match the cylinder, not just its general size. Identify whether the unit is hydraulic or pneumatic, and note its construction, such as tie-rod or welded. Different designs can use different seal shapes, even when their dimensions look similar. Check the cylinder plate or service documents if available. Do not guess from appearance alone.

Measure the bore and rod diameter carefully. The bore is the cylinder’s internal diameter; the rod measurement is taken across the smooth, exposed shaft. Clean away oil and grit before measuring, and use a suitable caliper. Then confirm the stroke, meaning the rod’s full travel—not the cylinder’s overall length. Small difference. It matters. If measurements seem inconsistent, recheck them at another point; wear or a slight burr can affect a reading.

Write down all four details before ordering: cylinder type, bore, rod diameter, and stroke. Compare them with the kit’s listed specifications, including any seal arrangement shown in a parts diagram. A kit can fit the bore yet still contain the wrong rod seal. That mismatch is easy to overlook. I would also verify fluid type and operating conditions, since seal material must suit the application. When records are missing, pause and confirm dimensions with a qualified cylinder service technician rather than relying on a near match.

Match Seal Kits to ISO 6020-2 (16 MPa) or ISO 6022 (25 MPa) Classes

7 Tips for Choosing the Best Cylinder Seal Kits
Match Seal Kits to ISO 6020-2 (16 MPa) or ISO 6022 (25 MPa) Classes

Pressure class is the starting point, not a seal-material specification. ISO 6020-2:2015 covers 16 MPa (160 bar) cylinder dimensions, while ISO 6022:2006 covers 25 MPa (250 bar) cylinders. These figures identify different operating classes. They do not, by themselves, confirm that a particular seal kit fits. Check the cylinder’s model documentation and seal-groove dimensions before ordering.

For a 16 MPa cylinder, choose a kit specified for its bore, rod diameter, and pressure duty. For a 25 MPa cylinder, confirm that the seals and support rings are rated for the higher pressure. Look closely at the rod seal and piston seal, where pressure can force elastomer into clearance gaps. Small details matter. A kit that matches the pressure class but not the groove geometry can leak or wear early.

Also check fluid type, temperature range, rod speed, and surface condition against the seal supplier’s technical data. ISO’s published pressure classes provide a reliable starting reference, but service conditions still shape kit choice. Some catalogs compress these details, which can make comparison harder than it should be. Verify the exact part dimensions and stated pressure limits; don’t rely on a broad “fits this series” label alone.

7 Tips for Choosing the Best Cylinder Seal Kits

Match the seal kit to the cylinder’s pressure class: ISO 6020-2 is associated with 16 MPa, while ISO 6022 is associated with 25 MPa.

Selection reminder: Pressure class is only a starting point. Verify the cylinder standard and dimensions, then check the seal material’s compatibility with the operating fluid, temperature, and service conditions.

Choose PU, NBR, or FKM by Fluid Compatibility and Rated Temperature

When choosing cylinder seal kits, match the elastomer to the actual fluid, not just the machine’s label. NBR commonly suits mineral oils and hydraulic fluids, with typical service limits near -30°C to 100°C. Polyurethane (PU) often handles abrasion and pressure well, but hot water or certain additives can cause trouble. FKM usually tolerates higher temperatures, often approaching 200°C, though specific compounds vary. These are screening ranges, not guarantees.

Check the fluid’s exact formulation, operating temperature, and cleaning chemicals. ASTM D471 measures how liquids affect rubber properties, including volume and hardness changes; use test data for the fluid and compound where available. ISO 23936-2:2011 sets material qualification requirements for elastomers used in oil and gas environments. Neither replaces checking the seal maker’s compound-specific limits. Small differences matter.

In the field, a seal exposed to warm oil may also face cold starts, pressure spikes, or detergent residue. That combination can change the choice. Ask for compatibility data at the highest sustained temperature, then consider brief peaks separately. Inspect an old seal for swelling, cracks, or a flattened lip, but treat appearance as evidence, not proof. I would not select FKM by temperature alone; fluid chemistry can still make it the wrong fit.

Check Pressure, Speed, and Extrusion-Gap Limits Against Seal Data

7 Tips for Choosing the Best Cylinder Seal Kits

Check the seal data against the cylinder’s actual pressure, speed, and extrusion gap—not just its nominal rating. Pressure spikes during a hard stop can exceed steady operating pressure. A seal that looks suitable on paper may deform if the piston-to-bore clearance is too wide. Small details matter.

Compare dynamic speed limits with the cylinder’s full motion cycle. Frequent reversals can generate heat even when average speed seems modest. Check the data at the expected operating temperature, since heat can change seal behavior and shorten service life. Also confirm whether the published limits assume particular lubrication or surface conditions.

Measure the extrusion gap at the working pressure, and account for tolerances, wear, and side loading. Then compare that value with the seal data for the relevant pressure and temperature. Margins matter. Choosing a kit right at a stated limit leaves little room for real-world variation. If the application is near a boundary, review the measurements and operating conditions with a qualified seal supplier before installation. A tidy calculation can still miss a worn bore.

Verify Kit Dimensions and O-Ring Tolerances Against ISO 3601

A seal kit can look right on the bench and still fail to fit the cylinder. Check the part drawing against the cylinder’s bore, rod, and groove dimensions before ordering. ISO 3601 specifies O-ring dimensions and tolerances, but it does not define every profile in a cylinder seal kit. Confirm which components the standard covers.

Measure the O-ring cross-section with a low-force gauge; soft elastomer can deform under caliper pressure. Check its inside diameter and compare both measurements with the specified nominal size and tolerance. Small differences matter. Also verify the relevant ISO 3601 part and edition, since requirements may differ by application. Do not assume an O-ring’s size alone confirms that its groove has suitable squeeze or clearance.

Compare kit dimensions with the equipment drawing, then inspect the actual groove for wear, burrs, or corrosion. A worn groove can make a correctly sized seal leak or move during operation. If the drawing and measured cylinder disagree, pause and confirm the intended dimensions with the equipment documentation or a qualified seal supplier. I would not treat a close visual match as proof of fit; elastomer seals can hide a mismatch until pressure is applied.

7 Tips for Choosing the Best Cylinder Seal Kits - Verify Kit Dimensions and O-Ring Tolerances Against ISO 3601
Tip Dimensions or Data to Verify Practical Verification
1. Identify the cylinder type and sealing location Record whether each seal is for a piston, rod, gland, or static joint. Note the cylinder bore and rod diameter. Compare the kit application data with the equipment drawing or measured cylinder dimensions. Similar-looking kits may contain seals for different locations.
2. Confirm the O-ring size notation Check the O-ring inside diameter (ID) and cross-section (CS), and confirm whether dimensions are stated in millimetres or inches. Common nominal cross-sections used in seal sizing include approximately 1.78, 2.62, 3.53, and 5.33 mm; these examples do not identify a complete seal size. Match both ID and CS to the drawing or specified standard. Do not select an O-ring by cross-section alone, and do not assume a conversion or rounded value is an exact nominal size.
3. Check tolerances against ISO 3601 Review the applicable ISO 3601 part, size, tolerance class, and any stated dimensional limits for the O-ring. ISO 3601-1 covers O-ring dimensions and tolerances. Ask for dimensional specifications or inspection results where needed. Compare the stated limits with the relevant ISO 3601 requirements; avoid applying one generic tolerance to every O-ring size.
4. Verify the gland and groove dimensions Check groove diameter, width, depth, corner radii, and available installation space against the cylinder drawing. ISO 3601-2 addresses housing dimensions for O-rings. Use the correct housing design for the seal location and service conditions. A correctly sized O-ring can still leak or wear quickly if the groove geometry is unsuitable.
5. Match seal material to the fluid and temperature Confirm the specified elastomer and its compatibility with the working fluid, operating temperature, and exposure conditions. Use a compatibility reference or obtain material data for the exact fluid and temperature range. Do not assume seals made from different elastomers are interchangeable.
6. Check backup rings and installation details Verify backup-ring quantity, material, orientation, and fit where the design calls for them. Check that included seals correspond to the correct grooves. Follow the equipment assembly drawing and installation instructions. Inspect seal edges and grooves for damage, and use a lubricant compatible with both the seal material and system fluid.
7. Validate the kit before installation Compare the parts list and measured samples with the required IDs, cross-sections, groove dimensions, materials, and applicable tolerance specifications. Measure with suitable, calibrated equipment and avoid stretching or compressing an O-ring during measurement. Record discrepancies before assembly and confirm the relevant ISO 3601 edition with the specification.